.

.

Friday, June 27, 2014

A Trophy to Cherish

I have long-admired the old trophies that I see in Blogland.  I enjoy looking at them on ebay and etsy, too.  I really can't justify spending the money for the ones that I really like.....you know....the really big ones that are in near-perfect condition, with engraving that declares some stranger's accomplishments and the price tags that express their quality and age.

Then, I realized a couple of years ago that I have my own beautiful trophy sitting quietly in my china cabinet.  A beautiful trophy in perfect condition--with perfect engraving--and one that has been polished lovingly by family--not strangers.  It is a piece that expresses the love of the giver to the recipient.


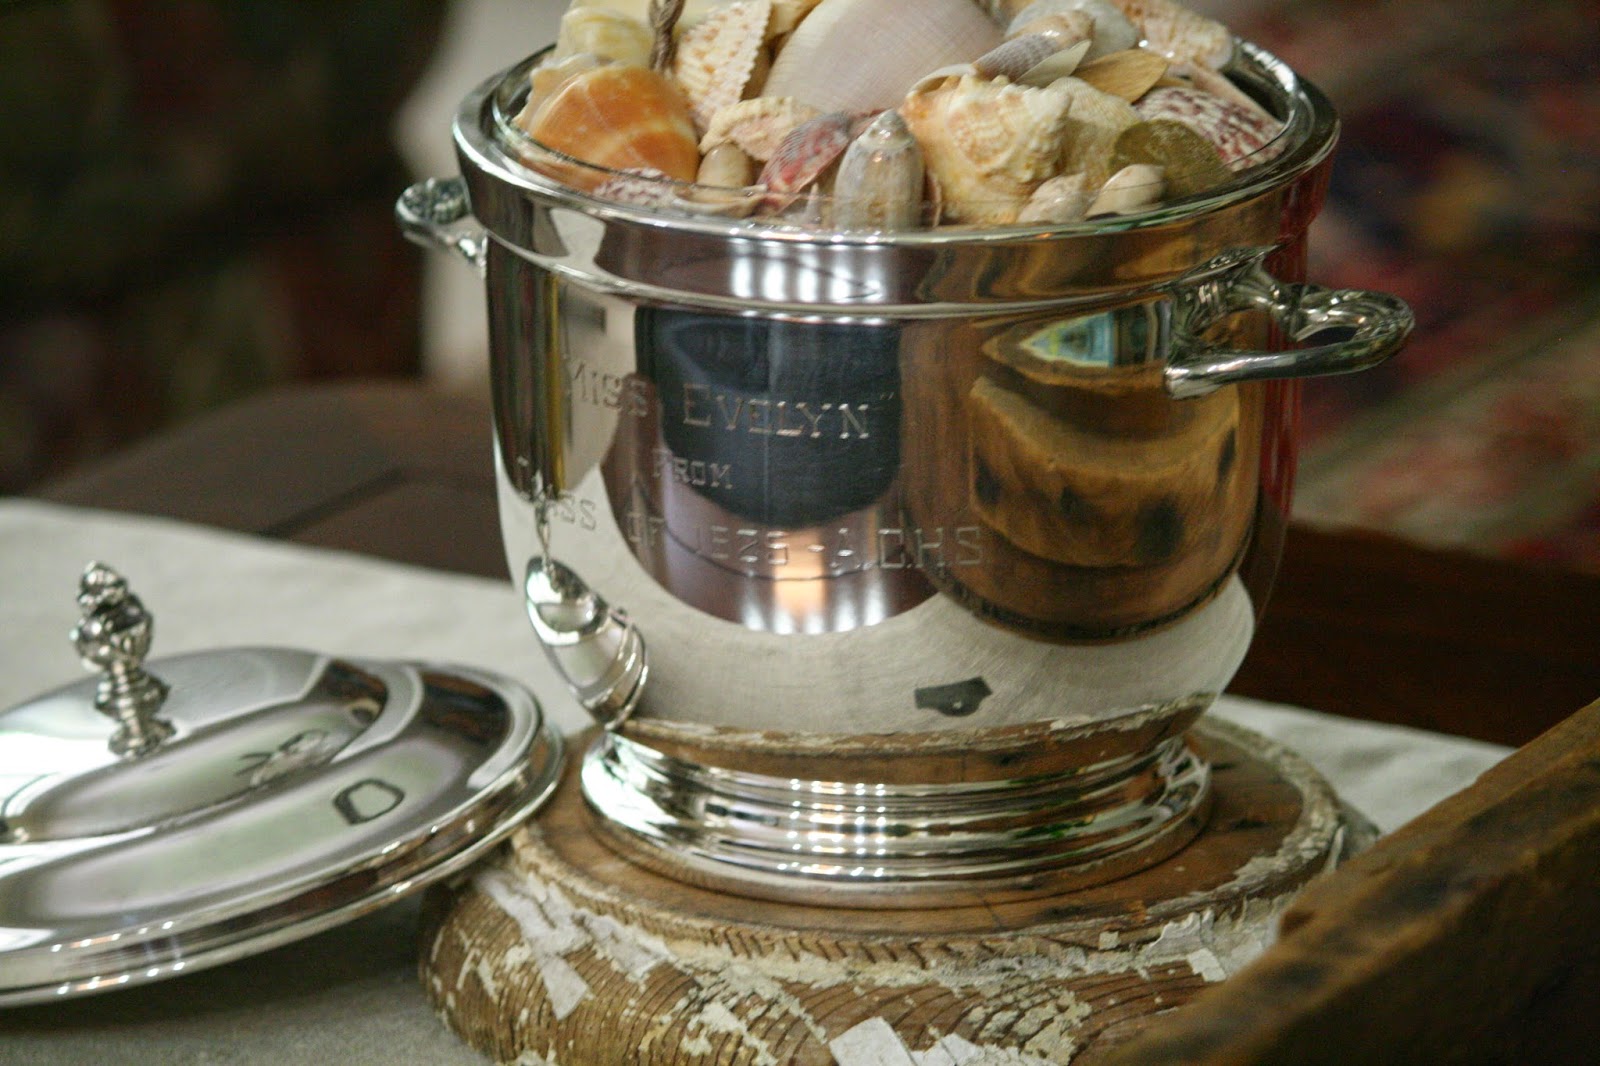
I have this lovely sterling silver ice bucket that was a gift to my great aunt from her high school students.  It has a glass insert that is vacuum sealed into the bucket.  It has a perfect lid to complete it.


It was a gift from Autauga County High School's 1925 graduating class.   My great aunt was their teacher. I would guess this gift would have been given at a class reunion, perhaps.  I don't remember asking my aunt when she received it.  But, let's say they gave it to her for their 25th reunion in 1950...that would make the ice bucket at least 64 years old! 

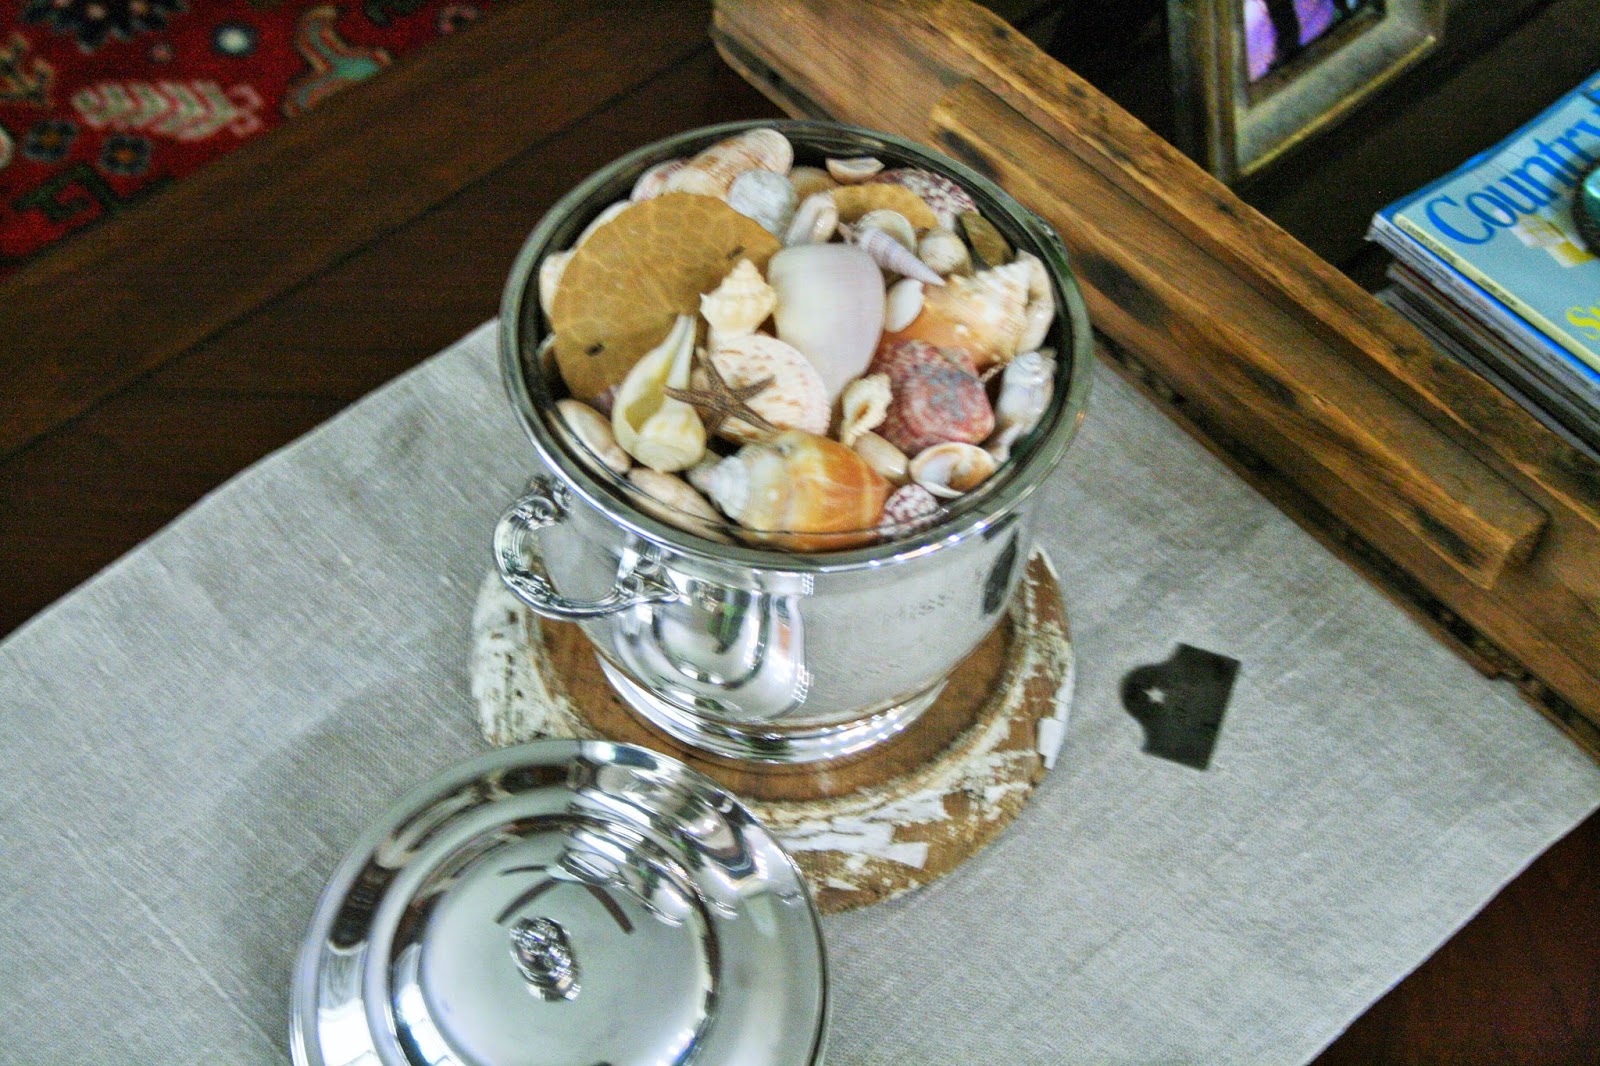
I have always been a shell collector and during the summer I enjoy displaying the shells that I have picked up over the years.

This year, I decided to put my shells in the ice bucket. 


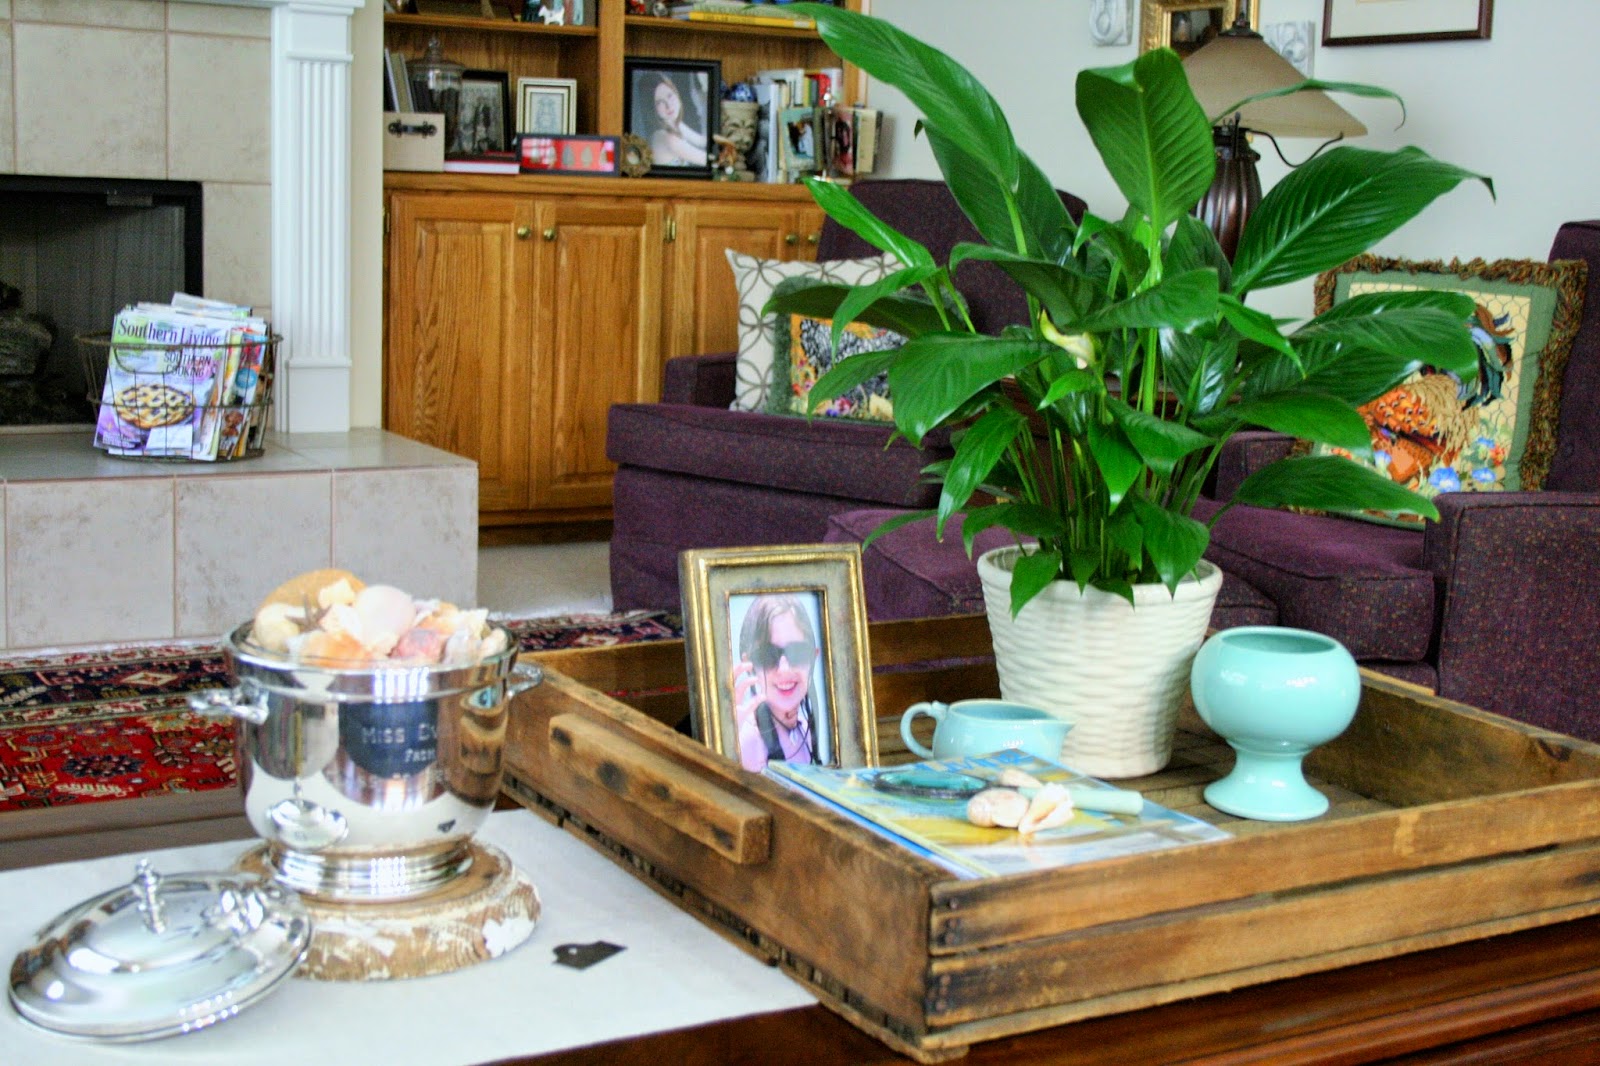
I decided to keep the berry tray on my coffee table for this arrangement.  I have a picture of my daughter holding up a shell she collected during a beach visit.  I love to use seasonal pictures in my home-especially on my coffee table.


I love to add a touch or two of aqua for summer.  The antique magnifying glass came from my great aunt's desk and it is the perfect color with the shells.  And these two small aqua-colored containers were found for a couple of dollars at local flea markets. I love their soft color--they say, "Relax, it's summer." to me.


I hope this post reminds you of your perfect summer day or of a special teacher that made a difference in your life!

Joining the Party:

at
French Country Cottage


Tuesday, June 3, 2014

DIY Picture Frame

I have been saving several pieces of wood from an old house my brother was restoring (the house is at least 75 years old). I collected a few interesting pieces and tucked them away for a future (unknown) project.  
I finally decided wanted to make a rustic tray, but my boards weren't long enough, so I decided on a picture frame instead.  

Here's the finished product.
  I'll walk you through the process,
 so you can make your own frames.


Here are the boards I had collected for a project. I'm sure they're laden with lead paint.  They're pretty in all their chippy glory.  I was able to cut the boards with a chop saw and then used a piece of composite wood for the base of my frames.  I painted the composite board with some water-based white paint and when it was dry, I sanded it some so it would look a bit distressed, too.


I glued the boards down with some wood glue and put something heavy on top of them and let them dry over night.


 I sealed the frame with a clear matte finish spray. 

I found these nuts at my local home store. 
 They are called speed nuts.


I bought these two plastic picture frames for $2 at Wal-Mart. I assumed that they wouldn't have glass, but a plastic product since they were so inexpensive.  I was kinda hoping for the plastic...but, I was surprised that they were glass....a good glass, too.  The edges are sanded so there were no SHARP edges!  I'm always fearful that I'll slice my finger open while cleaning the glass of a picture frame...just saying.


I did some measuring.


I used a tool that you would start a pilot hole for a screw...gave it a few taps and I was able to just twist the screw into place.  Don't over tighten as you can crack the glass (lesson learned).


I selected a dowel to prop up the frame. 
 You may add a hanger if you'd 
rather use the frame on the wall.


I keep a piece of wood to drill 
holes in to see if I'm using the right size bit.


I had to be careful and not drill too deeply.


I drilled two holes so I could use the frame horizontally or vertically.


Then, I slipped in the picture behind the glass
 and tightened the screws just a bit--and I was done!